
Table of Contents
What is Wave Accounting?
Wave is an award-winning, free accounting software tutorial designed for all types of small businesses.
It allows you to track transactions, payments, bills, invoices and accounts all within a streamlined, user-friendly accounting platform.
In this Wave Accounting software tutorial, we will walk you through the ins and outs of this software that will help you better manage your day-to-day accounting and financial activities.
Why Do Small Businesses Need Accounting Software?
Wave Accounting is all-in-one accounting software that doesn’t cost you a cent. It helps you automatically track and manage all your financial accounts rather than wasting your time trying to compile and organize your financial activities manually through spreadsheets or with pen and paper (yes we know local businesses that are still doing this!).
How to use wave accounting?
In our opinion, Wave is the perfect accounting solution for small businesses.
Many similar tools on the market come with a cost. Wave is completely free (unless you sign up for payroll or customer payments)!
And if you’re wondering how Wave makes its money, well, it’s through their payroll and credit card processing transaction fees.
Let’s get started with Wave Accounting:
1. Creating an Account on Wave
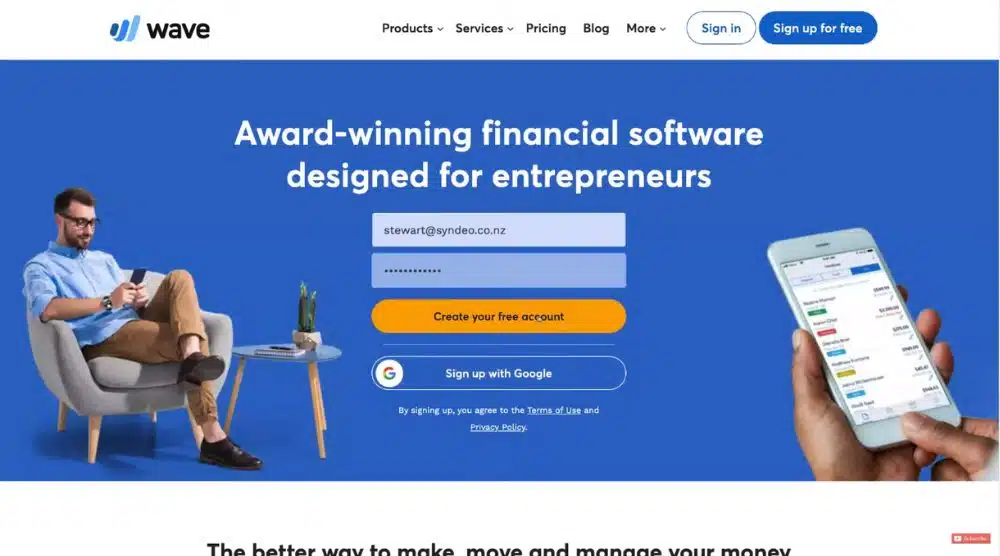
To get started with the Wave Accounting software for free, add your email ID and password.
Click ‘Create your free account’. You also have the option to sign-up with Google if you like.
We will choose the first option and then fill in the details in the next step.
The details include your first and last name, your business name, business country, etc. You would also have to enter your business currency before hitting ‘Next’ (step 1 of 4).
It’s important to know that this free accounting software has been built for US and Canadian businesses.
Hence, if you’re not based in any of these countries, we suggest using alternative free accounting software for small businesses.
We recommend Xero for our Australian and New Zealand clients but there are many other tools that you can play around with depending on the country you’re in.
You can watch our beginner’s tutorial on Xero to help you get started.
After you’ve completed step 1, you have to choose a starting point in step 2. We’re going to select ‘Manage your accounting’ and then answer a few questions by selecting the drop-down. Once you’ve selected the appropriate answers, click ‘One last step’.
In step 4 of 4, select the duration you’ve been running your business for (1-3 years in this case), type of business (limited liability company, for example), type of LLC (single-member LLC), whether your own a business bank account (select ‘yes’) and what payment method you use for your business expenses (select credit card).
Once you’ve entered the relevant details, click ‘Continue to accounting’. You have now arrived at your Wave Accounting dashboard.
2. Understand The Wave Dashboard

On your Wave Accounting dashboard, you can see the snapshot of your account.
This snapshot displays a visual representation of your cash flow over the last 12 months. You can also select ‘Last 24 Months’ and view an entire report.
Next to that, we have ‘connect your bank account’. This is for reconciling or managing your transactions that occur when you make a purchase or when you receive payments.
Now, go ahead and click ‘Connect my account’. It’s a simple step-by-step process that Waveguides you through (We will also cover this again further down the page).
On your dashboard, you can also see shortcuts to different activities, such as:
- Add a customer
- Add a vendor
- Customize your invoices
- Invite a guest collaborator
- Accept credit cards
If you scroll up, you can click ‘Create a new’ and then select an option from the drop-down:
- Transaction
- Estimate – which is a quote
- Invoice – for your customers
- Recurring Invoice
- Bill – that you need to pay
- Customer
- Vendor
- Product or Service
If you scroll down your Wave Accounting dashboard, you will find a profit and loss snapshot which includes income, expenses, unpaid invoices, and bills.
Below that we have ‘Payable & Owing’, the details under which are categorized by date.
Next to that, we have ‘Net Income’ where you can see your basic financial figures like income, expenses, and net income for 2020-2021.
Moreover, under ‘Expense Breakdown’, you can see the visual representation of your expenses.
That wraps up our brief overview of the Wave dashboard.
3. Understanding the Sales Features

Estimates
On the left-hand side menu, under ‘Sales’, select ‘Estimates’. This is where you can manage and create your estimates. An estimate is a quote that you send to a customer. Simply click ‘Create an estimate’ to get started.
Invoices
If you navigate past ‘Estimates’, you will find ‘Invoices’. This is where you can create, manage, and send all your invoices.
Take your time to get your head around how to create invoices within Wave Accounting (super easy process to make invoices).
Again, it’s pretty straightforward and just requires a bit of practice to understand the layout and structure of invoices.
Once you’ve created an invoice, click ‘Save and continue’. Or select ‘Save and send’ from the drop-down to send the invoice to a customer.
Currently, we don’t have any customers here. In this Wave Accounting example.
We will explain how you can simply add and manage customers later in this guide.
Recurring Invoices
Under ‘Sales’, you will also find ‘Recurring Invoice’ where you can set up scheduled invoices for customers that are on a subscription plan or are bound by a contract.
This way, you don’t have to separately create invoices every week, month, or year for invoices that do not change each cycle.
Checkouts
The Wave Accounting software tutorial allows you to accept payments directly from your website and you can do that under ‘Checkouts’.
This game-changing feature allows you to streamline your eCommerce and payment gateways – making it a lot easier to manage transactions occurring on your website.
Payments
Now, under ‘Payments’, you can turn on payments to receive payments directly through Wave from your customers.
Outside of bank transfer, you will be able to accept payments from American Express, Visa, Master Card, Discover, and other providers via Wave.
The benefit of using Wave, the free accounting software is that you can manage and streamline dynamic transactions all in one place.
Customer Statements
You will find this option under ‘Payments’.
This is where you can create customer statements to provide the specific details surrounding their account with you.
Customers
Visit this section below ‘Customer Statements’ to manage all your customers in one place.
Products & Services
This is where you can add the services or products that you offer.
All you have to do is click ‘Add a product or service’ and fill in the required information. Add the name, description, price, income account (this will be reflected in the transaction), and click ‘Save’.
Add an additional product or delete it whenever you feel the need.
4. Exploring the Options Under Purchases

This is similar to how you create invoices on Wave Accounting. Here, you can create and manage bills for your suppliers.
We also have ‘Vendors’ under purchases where you can add and manage your vendors and suppliers.
Go ahead and click ‘Add a vendor’ to proceed with the steps.
Below ‘Vendors’ we have ‘Products & Services’. This is similar to ‘Products & Services’ under ‘Sales’.
However, unlike sales, these are products & services that you purchase for your business.
5. Examining Your Options Under Accounting

Here, you can:
- Connect your bank
- Upload a bank statement
- Add manual transactions
Connecting your bank will automatically update all your transactions within the Wave accounting software.
After which, you can reconcile those transactions under ‘Reconciliation’.
Depending on the number of bank accounts connected with Wave, you can see all your transactions here that you need to reconcile.
Because this is a fresh account, we don’t have any transactions as of now.
You can select ‘Watch video’ provided by Wave to understand the reconciliation process.
Below this, we have ‘Chart of Accounts’ which is important for your bookkeeper. Here, you can manage the existing chart of accounts or add a new one.
Moreover, by clicking ‘Hire a bookkeeper’ you can connect with a Wave advisor to help you manage your account.
This is, of course, a paid service if you ever believe this is something you would like to use.
6. Walking Through the Banking Options

We currently have no bank account connected so you won’t see anything here.
In this section, you can find your bank and follow a step-by-step process to integrate it with Wave.
When you set up payment, you need to see the transactions happening within Wave.
To view these transactions, click ‘Payouts’ under ‘Banking’.
Apart from that, if you need business insurance, you can look through the options under ‘Insurance’ below the ‘Payouts’.
7. Other Options Within Wave Accounting

Only after you set up payroll can you make use of these options:
- Employees
- Timesheets
- Payroll Transactions
- Taxes
- Tax Form
Moreover, the Wave Accounting software allows you to manage all your financials and reports under ‘Reports’. It also enables you to file your taxes directly from Wave under ‘Tax Filing’.
Also, read: How To Use XERO
Wave free accounting software tutorial (Video Guide)
While using Wave, we recommend seeking the help of an account or a bookkeeper to get the most out of this free accounting software.
Since each business has a unique structure, system, and process, it’s wise to hire an accounting professional for the appropriate guidance.
If you want to integrate other apps and tools with Wave, you can do that under ‘Integrations’. Below that, we have business settings that you can explore.
With Wave Accounting, you aren’t just limited to the web version. You can also download an app on mobile to get more out of Wave while out of the office.
If you are a beginner and would like a visual walk-through, then feel free to watch our video tutorial to get you started with Wave Accounting tutorial Enjoy!