Table of Contents
New startups & small businesses are particularly cautious about every penny they spend. Rightly so, these individuals generally have a smaller budget and have very specific needs. Thus they need to ensure maximum ROI out of each marketing investment they have made, including their email marketing efforts.
Moreover, beginners or small business owners do not have a budget nor the expertise to run several marketing campaigns. Therefore, email marketing can be the most efficient way for businesses to reach a larger audience, gain new customers and generate brand awareness online. Additionally, through email marketing, you can create customized email campaigns for your target audience. So how can you use Mailchimp? Here’s a complete Mailchimp guide for beginners (we also have a MailChimp tutorial video below).
Why MailChimp?
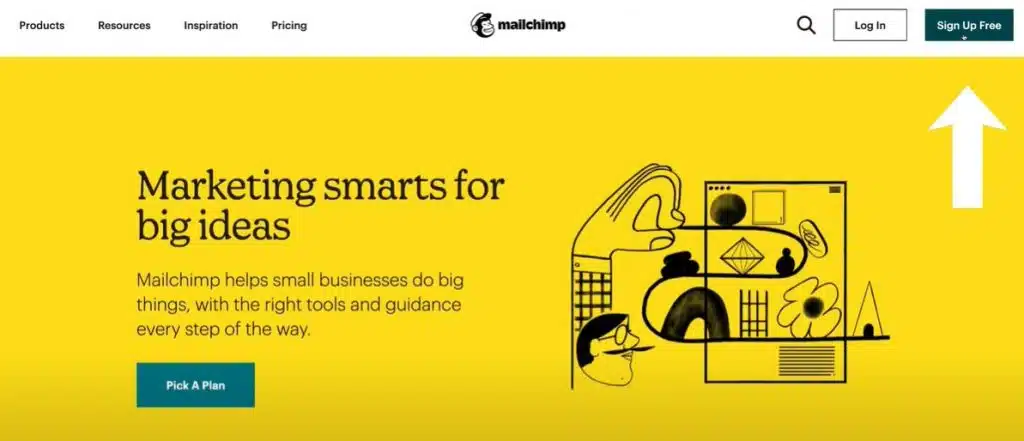
MailChimp is an all-in-one web-based email marketing platform. You can access all its amazing features via your browser. It is also completely free for up to 2000 subscribers and is regarded as one of the best email marketing solutions for small businesses that want to engage with their audiences online.
![]()
Furthermore, MailChimp offers analytical features that help you in assessing the success of each email marketing. Now, let’s go walk through the step-by-step MailChimp tutorial, which will demonstrate to you how to develop an email list, create email campaigns, email automations and launch a landing page and even a website all for free.
MailChimp Tutorial for Beginners
1. Setting up a fresh account with MailChimp
Get started with Mailchimp for FREE here
*The link above is an affiliate link, which means we will get a commission if you upgrade to a paid plan (with no extra cost to you). This helps support our education-based website and we thank you in advance!
One might get confused about whether to go for a free MailChimp account or a paid one. The answer is you can start with a free account as it is easy to upgrade from a free to a paid account after you reach 2,000+ subscribers. Nevertheless, you can do many more things with a free account such as inbox preview, delivery by time zone, more audience (email lists) etc.
Read more: Create Email Automations with Mailchimp
2. Setup your audience (email list)
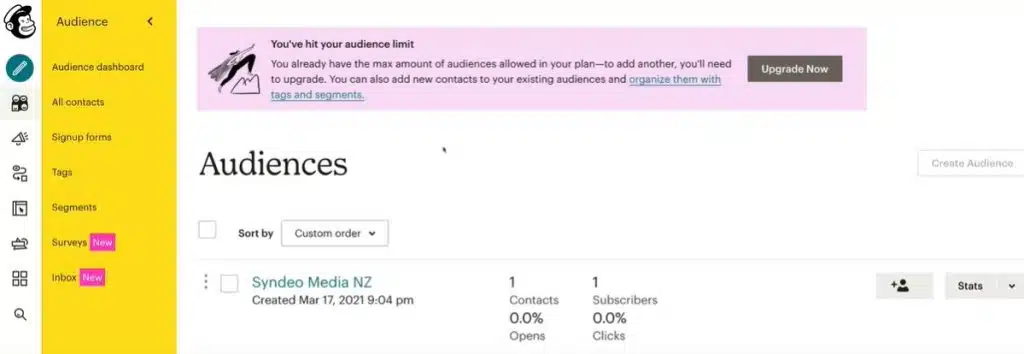
As soon as you sign up for Mailchimp, it automatically generates an audience based on the setup details you have provided. It allows you to modify the default settings for your audience if necessary. Furthermore, you can import bulk contacts from any other source. This is the list of the audience with whom you will share all your content with. Moreover, as your small business and content evolves, so will this email list.
Read more: How To Connect MailChimp to WordPress
3. Creating a free landing page
In order to attract more subscribers, your business will require a website with a well set up landing page. Through an excellent landing page, you can capture visitor contact information. This way you can further build your audience list (email list).
Read also: Top 10 Free Digital Marketing Tools
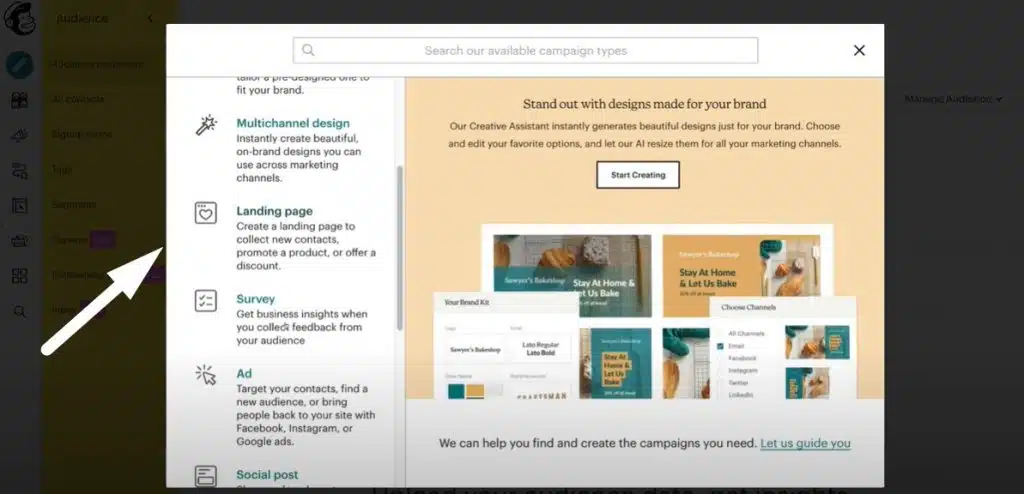
For creating a landing page, navigate to the option ‘Create’. Select the option ‘Landing Page’. The next step is to provide a name for the landing page and specify the audience list (you will only have one with the free plan). Further, select a pre-existing template of your choice and get started. You can edit and customize the page’s look, content, style and design by simply using the drag and drop block builder. After you finish all the editing and once you are satisfied, you can publish your new landing page. Afterwards, you only need to share the URL of the landing page with the intended individuals through social media or any other medium and start capturing visitor contact information and build your audience.
4. Managing your email marketing campaigns
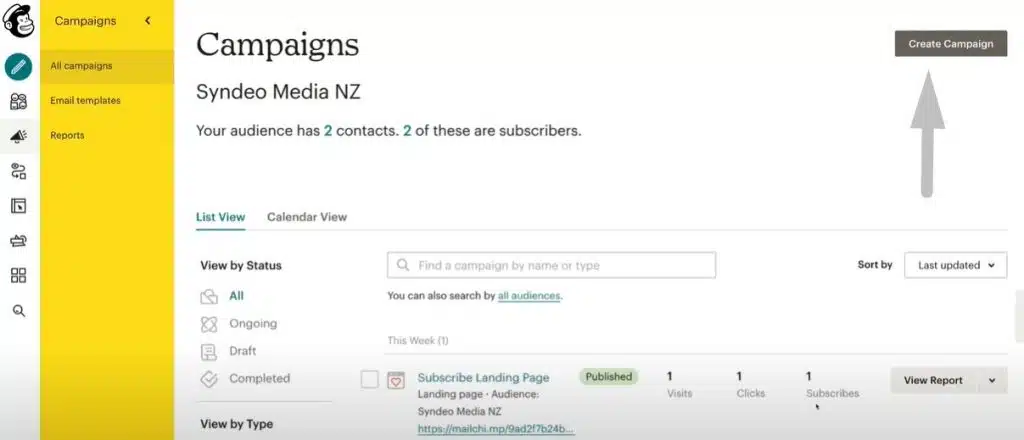
Mailchimp allows you to manage all your marketing campaigns under the ‘Campaign’ tab. To set up an email marketing campaign, select the ‘Email’ option under the ‘Create’ option. Here too, you have to provide a name for your email marketing campaign. After you have specified the recipient list, specify your name as the sender along with the domain name (i.e. email address). You can also add a compelling subject line for an email so that the audience is compelled to open your email. Similar to the landing page editing, you can also customize your email template. Meanwhile, MailChimp also allows you to send welcome emails to new subscribers.
5. Building a free MailChimp website
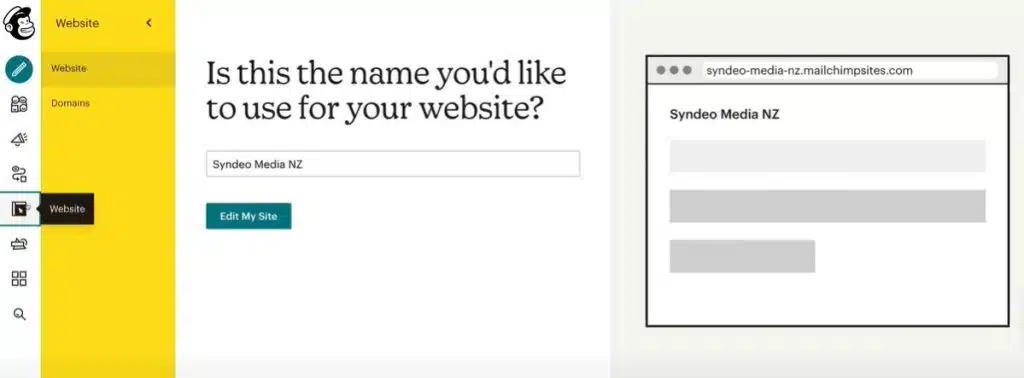
If you don’t have a pre-existing website, you can create one with Mailchimp for free. To simply do this, go to the ‘website option’, provide a name for the website and then click on ‘edit website’. You can set up a multi-page website, customize the style, feel, content and the overall design of the website to ensure your new website resonates with your brand and business.
Watch the Video Guide for Step-by-Step MailChimp Tutorial
These are the initial steps to help you get started with Mailchimp as a beginner. Just by following the above-mentioned steps, you can ensure a delightful experience for your customers. If you want to get access to more advanced features, upgrade from a free plan to a paid one and make the most of this multi-purpose platform you can simply upgrade at anytime.
Wanting a more visual video-based tutorial?
Below is the step by step video tutorial to help get you started MailChimp.
