Table of Contents
Google Search Console Tutorial allows you to track and measure your website’s organic search traffic, performance, and other key metrics that you can use to improve your website’s visibility on Google.
In this Google Search Console tutorial, we’re going to guide you on how to set up and verify your website with Google Search Console.
We’re going to share 3 simple methods that you can use to verify your website in just a few easy steps.
At the end of this tutorial, you’ll be able to identify the best method on how to set up Google Search Console according to your personal preferences.
Read more: Google Search Console Tutorial for Beginners
The Ultimate Guide to Google Search Console

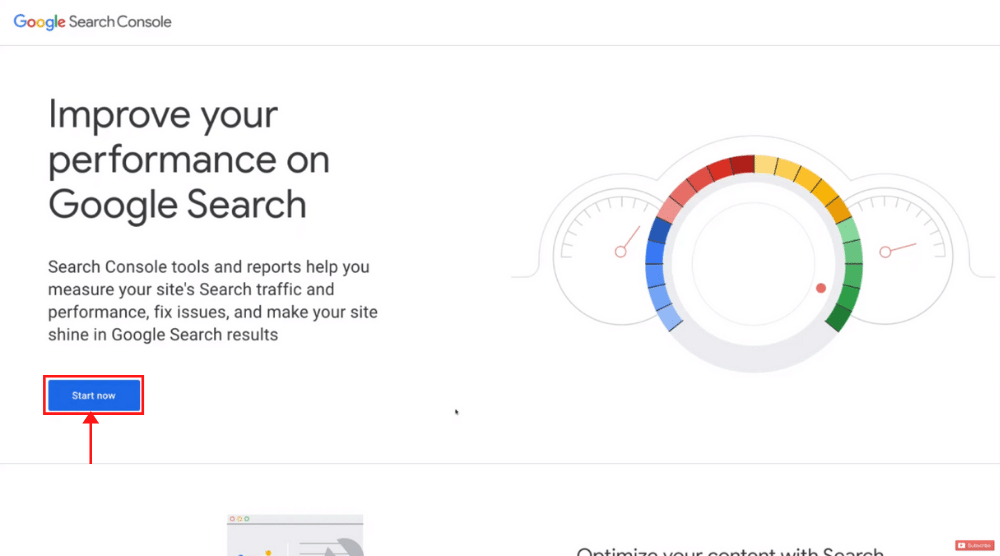
You can also simply type in ‘Google search console’ into Google and then click on their website.
Once you arrive at the website, click ‘Start now’ and log in with your Google account.
If you don’t already have a Google account, you can come down and click on ‘Create account’. That’s going to allow you to access Google Search Console.
Let’s understand how to verify Google Search Console using the first method:
Method 1 – Google Analytics Verification

However, you might not already have Google Analytics connected with your website.
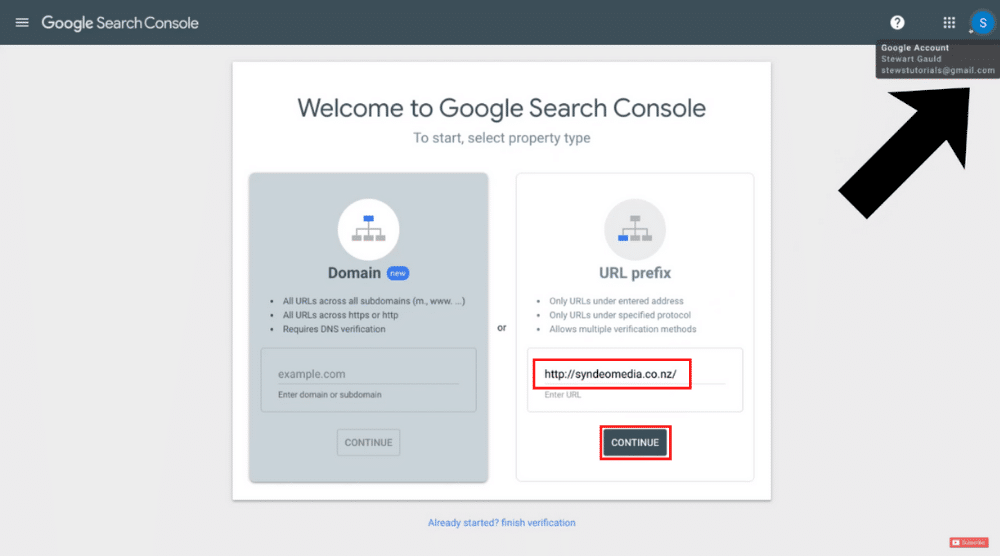
If you do, all you need to do is add your website URL exactly how it appears online.
Also, the Google account you used to sign up to Google Search Console should be the same as your Google Analytics account. Then, simply come down and click ‘Continue’.
Now, Google Search Console will take a moment to verify. Once it’s completed, click ‘Done’.
If you don’t already have Google Analytics connected with your website, you can watch our here that will take you through the process of setting up Google Analytics.
This brings us to our next method to verify Google Search Console.
Also read : How to Connect Google Analytics 4 with Wix & Squarespace
Method 2 – Cpanel Verification

This method may look daunting at first but it’s pretty straightforward.
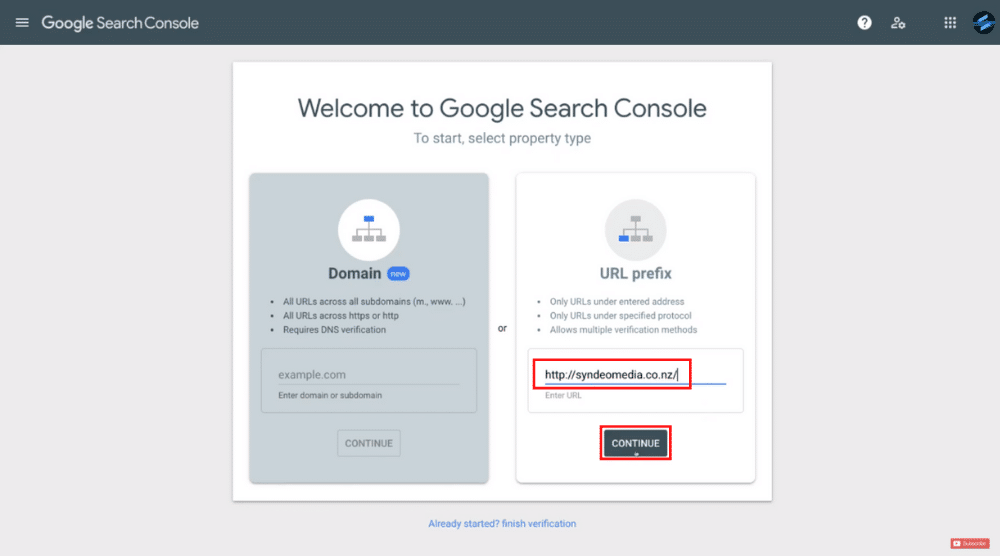
Under ‘URL prefix’, add your website URL again.
Hit ‘Continue’ and then download the HTML file in the next step.
Click on the file to download it. Now, to verify Google Search Console, you need to log in to your Cpanel.
Within your Cpanel, scroll down until you find ‘Files’.
Click on ‘File Manager’ and then ‘public_html’ on your left. Now, you just need to upload the file that you downloaded from Google Search Console into your public folder.
To do that, simply navigate up to ‘Upload’ and then click ‘Select File’.
Locate the HTML file on your computer and click ‘Open.
You have now successfully uploaded the HTML file. Then navigate back to your public folder where you’ll be able to see the file.
From the top-left, you can head back to your Cpanel dashboard.
Your work within the Cpanel is over. You can now head over to Google Search Console.
Click ‘Verify’ and allow a few moments for verification to complete. Hit ‘Done’ once it’s over.
We will now discuss the third method to verify Google Search Console.
Also, read: How to Install Google Analytics on WordPress
Method 3 – WordPress Plugin Verification

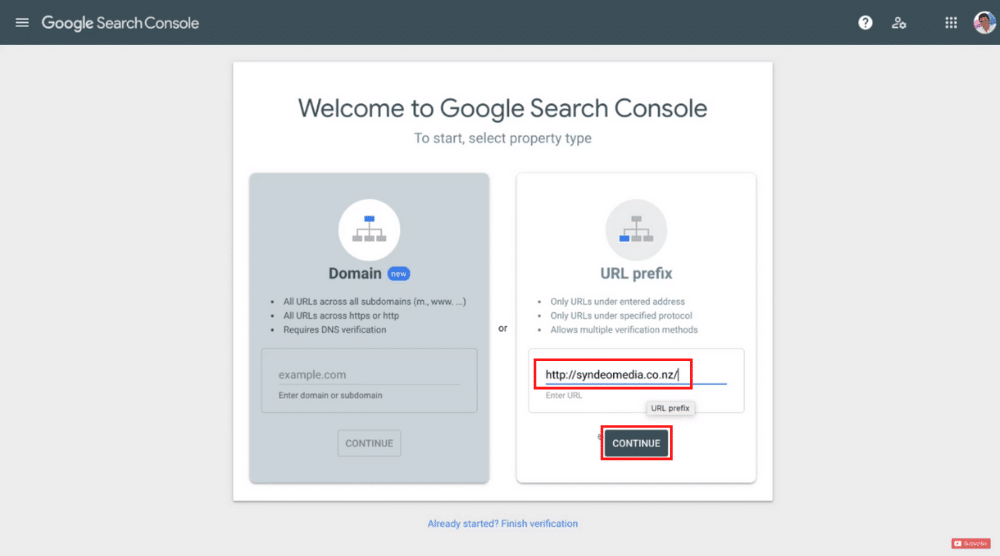
This process requires you to install a WordPress plugin. First, you need to enter your website URL under ‘URL prefix’.
Here, you must note that you’re either using HTTP or HTTPS ( HTTPS is more secure).
If your website is already online and it has a lock icon on the top-left corner, then that means your website is secure.
Since this is just a test site, we only have HTTP.
Click ‘Continue’ and come down to ‘HTML tag’. Click on it and copy the meta tag code.
What you need to do now is head over to your WordPress dashboard.
Navigate over to ‘Plugins’ on your left and select ‘Add New’.
In the search bar, type in ‘insert headers and footers’.
Locate ‘Insert Headers and Footers’ by WPBeginner (the one with over 1 million active installations and positive reviews) and hit ‘Install Now’. Click ‘Activate’.
Now, head over to ‘Settings’ on the left-hand side and come down to ‘Insert Headers and Footers’.
Under ‘Scripts in Header’ paste the code. After that, click ‘Save’ at the bottom of the page.
Head back to Google Search Console, locate the HTML tag again, and then click ‘Verify’. Once the ownership is verified, click ‘Done’.
Also read : Google Analytics 4 Tutorial for Beginners
Google Search Console Tutorial (Video Guide)
Those are the 3 methods that you can choose to verify Google Search Console. You can now dive into your Google Search Console to start measuring your website’s performance and traffic by clicking ‘Go To Property’.
Congratulations! You now know how to set up Google Search Console! If you prefer a video guide, we have a tutorial to guide you through this process step by step. Enjoy!

