Google Analytics 4 (GA4) for Shopify setup is now here!
Well, it’s actually been here for a few years now but as of July 1st 2023, the older version of Google Analytics (Univeral Analytics) will stop collecting data.
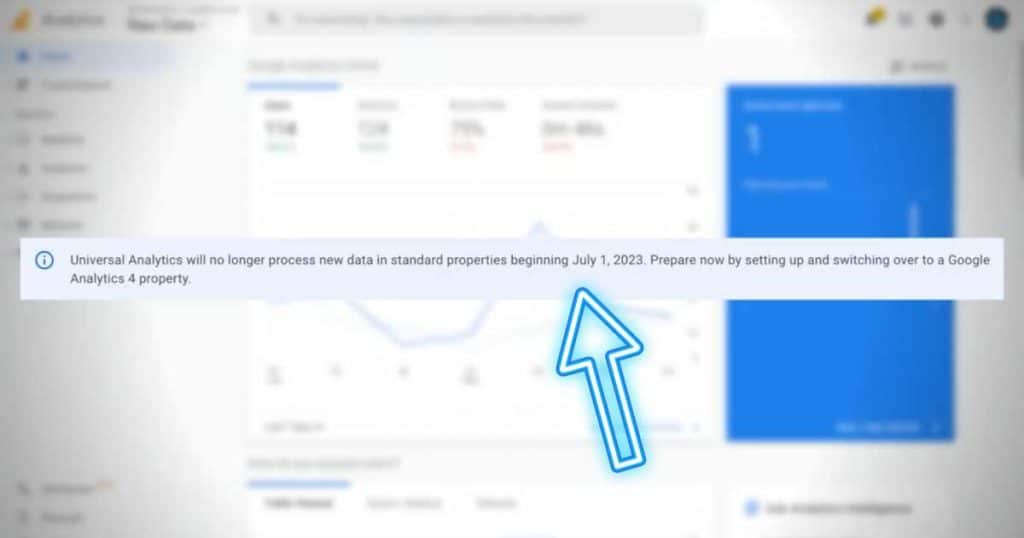
Therefore it’s important that your Shopify store shifts over to Google Analytics 4 ASAP and today I’m going to show you exactly how to do this.
Also, if you currently don’t have any version of Google Analytics connected to your website then I will show you how to do that too.
So if you run a Shopify store then this blog post is for you if you’re looking to connect Google Analytics 4 to your website quickly and with the right process.
So let’s get into it!
What is Google Analytics 4? (Layman terms)
Google Analytics 4 (GA4) is the newest version of Universal Analytics which is a free analytics tool by Google. This tool or platform essentially allows you to track and monitor your website’s traffic and performance.

The key difference between the older version of Google Analytics and GA4 is the primary data model focus. GA4 focuses more on the entire lifecycle of your customers.
You can track and measure how your website visitors are interacting on your website and the actions they take to become a customer.
I hope you can see the importance of connecting GA4 with your Shopify store.
Read more: How to use Google Analytics 4 after installing it on your website.
Does Shopify Support Google Analytics 4?
The simple answer is yes! In the past you had to add code from GA4 and embed that into the liquid.theme code manually. This was quite a daunting process for many!
However, now you can use a simple app integration and connect to Google Analytics in a few clicks.
Google Analytics 4 Shopify Integration (New Method)
Now depending on the website that you use, each method of connecting GA4 with your website is slightly different. However, I’m going to share the process for your Shopify store.
And like I mentioned I’m going to share how you can install/connect GA4 with Shopify.
Let’s dive into the process for Shopify.
Setup Google Analytics 4 (Beginners Guide)
First, we need to setup up of Google Analytics account if you do not have one. If you already have Universal Analytics set up for your website then I will show you how to shift from Universal Analytics to Google Analytics 4.
The initial steps to setting up your new Google Analytics account are as follows.
Step 1: Sign up for Google Analytics. Head over to analytics.google.com and get started if you have never used Google Analytics 4 before. You will need a Google Account to use Google Analytics.
Step 2: Create an account. Add your Account name, this could be your business name or if you want to manage multiple websites under this account you can call it something else like Syndeo Media’s Accounts for example.
If you already have Google Analytics for another website. Then just click on Admin inside Google Analytics and then select Create Account or Create Property.
Depending if you want to create a separate account or if you just want to create another property inside your existing account.
Step 3: Set up your property. Add your property name, reporting time zone and website currency.
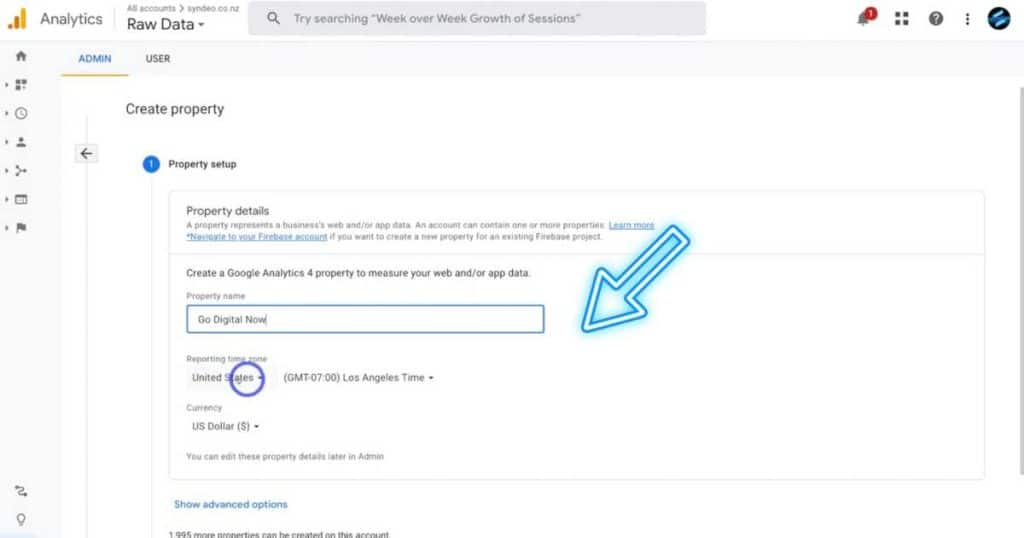
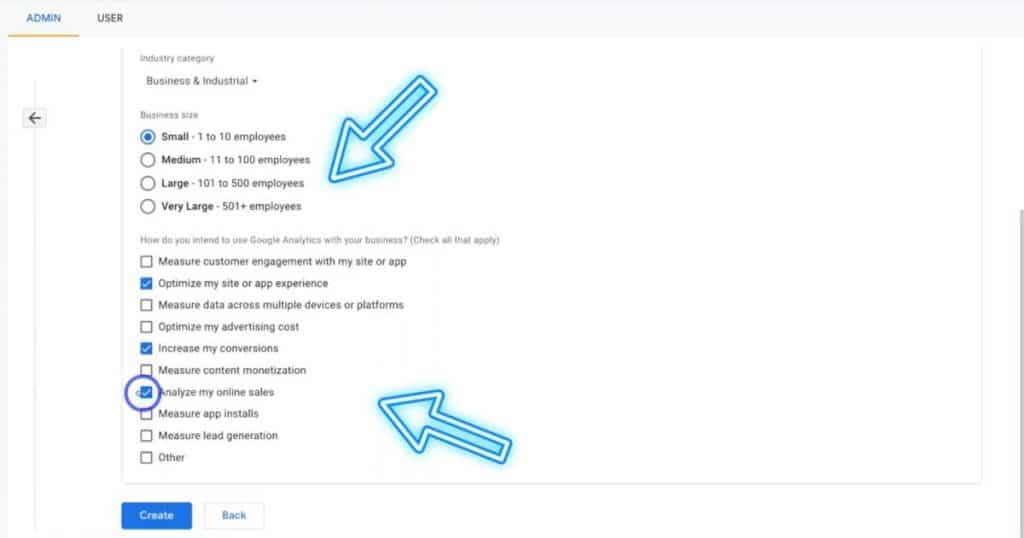
Step 4: Add basic business details. Here you want to select your industry type, and business size and select the goals that you have from the list (It doesn’t matter what you select here). Then simply agree to Google Analytics’ terms of service.
Step 5: Choose a platform. Here you want to choose web.
Step 6: Add your website URL. Add your website URL in this format, www.yourwebsite.com. For example, I would add www.stewartgauld.com if I was to connect GA4 to this website.
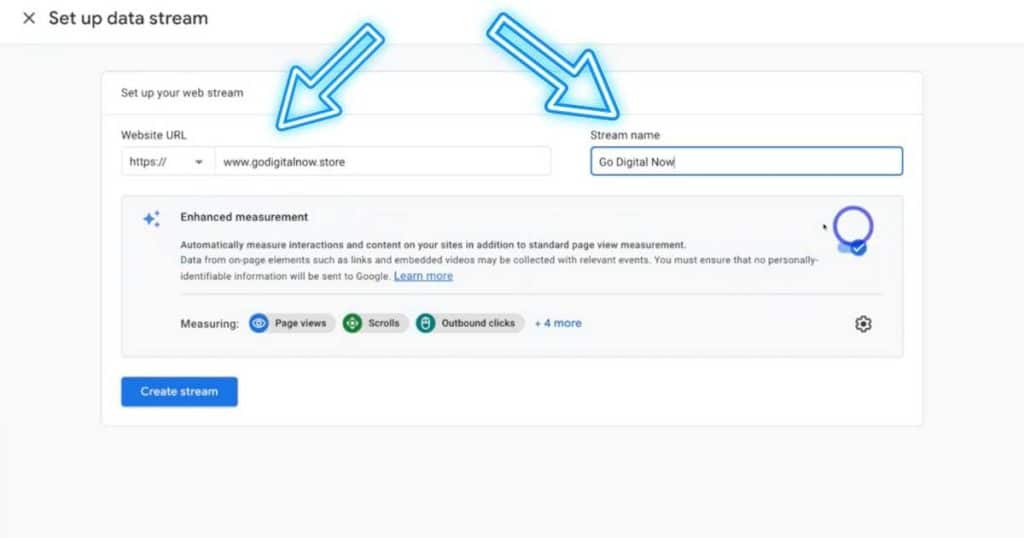
Step 7: Add your stream name. This is your website name.
Then hit connect stream. That will take you to the code we need to connect to your website.
Congratulations! You have completed the first step to setting up your Google Analytics 4 account.
Learn our beginner’s guide on How to connect GA4 with Google Sites.
Now, as I mentioned if you already have Universal Analytics installed, you can simply shift over to the new version without having to create a new account and property.
You can continue collecting website data through Universal Analytics and Google Analytics 4.
Let’s see how you can do this.
Step 1: Choose the right account. Once you are inside the right Google Analytics account, navigate down to Admin.
Step 2: Select GA4 Setup Assistant. Here you want to click Get Started, under I want to create a new Google Analytics 4 property. Then head over to the GA4 property that you just created.
Step 3: Locate your new Google Analytics Data Stream. Head back to your home dashboard and then click on Admin again.
Step 4: Click on Data Stream. That will take you to your new data stream. Then navigate down to Google Tag, and click on View Tag Instructions. Here you can click on Install Manually, and that will take you to the code we need to add to your website.
Okay, so we have covered how to create a new GA4 account and property as well as set up your new Google Analytics 4 data stream alongside your existing Universal Analytics property if you have already set that up in the past.
Setup Google Analytics 4 with Shopify (Beginners Guide)
Now let’s move on to connecting your GA4 data stream with your Shopify store.
The great thing about the Shopify integration is you do not need to play around with the code. The connection is automatically established. Simply follow these steps.
Step 1: Follow the process we mentioned under the title up above (Setup Google Analytics 4 (Beginners Guide).
Step 2: Head over to Shopify. Add the app Google & YouTube (Formally known as the Google Channel). Navigate through the process of setting up this app (in just a few clicks).
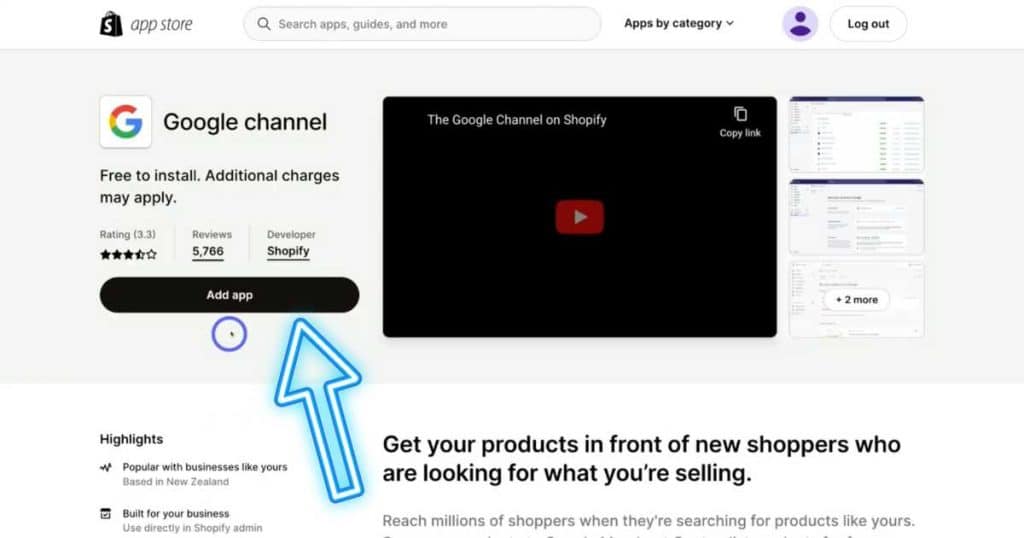
Note: If you already have Univeral Analytics installed then you want to disconnect that from Shopify. Also, if you already have Google Analytics 4 installed through the old method, then you will want to delete this code from your Theme.Liquid too.
Step 3: Connect your Google Account. Make sure you connect the right Google Account that you used to set up your Google Analytics account.
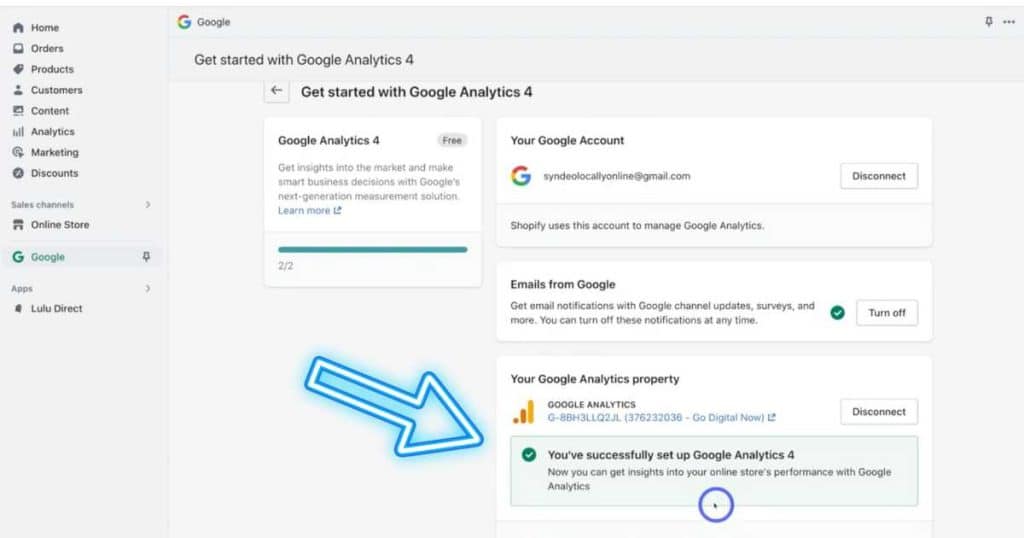
Step 4: Connect your Property. Make sure you select the right Google Analytics property that you want to connect with Shopify.
Read our beginner’s tutorial on How to connect GA4 with WordPress.
And just like that you have successfully connected GA4 with your Shopify store.
I also have a full video tutorial that I will link down below to help with this process if you prefer learning through video.
How to use Google Analytics 4 (Beginners Guide)
Okay so now that you have followed the process up above to connect your Shopify Store with Google Analytics, you will now want to know how you actually use Google Analytics.
So how can we actually use Google Analytics 4 to identify how our website is performing?
Check out the video tutorial down below that will take you through your GA4 dashboard and show you how to use all the tools and features that Google Analytics has to offer.
Stew’s Final Thoughts
And that is it for this All-in-one Google Analytics guide for beginners.
The primary goal of this video is to help you connect your Shopify Store with Google Analytics 4.
Remember you only have until the 1st of July 2023 to move from Universal Analytics to Google Analytics 4.
Understanding how your website is performing is vital for the long-term success of your website.
Let me know if you found this tutorial/guide helpful.
Thanks for reading this guide to the very end!
