Table of Contents
Facebook Business Suite (now Meta Business Suite) is an integrated social media management platform.
This tool allows you to create, schedule, and manage content across Instagram and Facebook as well as respond to comments and messages all from a single platform.
You can either access this relatively new platform from a computer (web version) or by using the Facebook business suite app.
How to Use Facebook Business Suite App?
In this Meta Business Suite tutorial, you’ll discover how to use this all-in-one social media management app.
Let’s get you up and running with the Meta Business Suite app.
Step 1: Getting Started with Meta Business Suite App
Here’s what you need to do:

- Download the Facebook Business Suite app to your mobile device.
- Locate the app on your phone and open it.
We have already connected our Facebook and Instagram accounts with the business suite.
However, if you currently don’t have an Instagram Business account or Facebook Business page, go through this before you read any further:
In the second tutorial, you’ll learn how to convert your existing Instagram account into a business one.
Also, once you create a Facebook Business Page, you need to link them together. If you’re not sure how to link these two channels together,
Next, we will navigate through the Home section of the Facebook Business Suite app.
There are many features that you can access within the home section.
In the following sections, we will walk you through the entire business suite app.
We will help you make the most of this powerful all-in-one social media management platform (for Instagram and Facebook).
Step 2: Confirm Instagram Message Access

In order to access our Instagram messages directly in our business suite we need to confirm Instagram message access.
At the moment, we have our Facebook Business Page connected (refer to the screengrab).
So, we can access the Facebook messages in the business suite app.
To confirm Instagram message access:

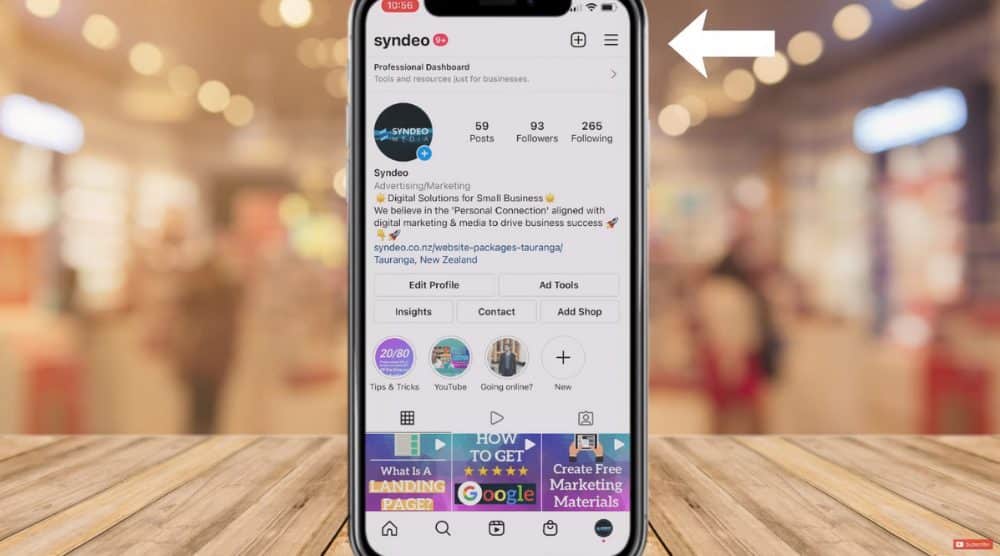
- Head over to your Instagram Business account.
- Click on the three horizontal lines in the upper-right corner.
- From the options that pop up on your screen, click on ‘Settings’.
- Locate ‘Privacy’ and click on ‘Messages’.
- Scroll down to ‘Connected tools’.
- Turn on the ‘Allow access to messages’ option using the toggle.
- Head back to your Facebook Business Suite app
You’ve successfully confirmed the Instagram message access.
Step 3: Create a Post in Meta Business Suite

We can choose if we want this post to be published on both Instagram and Facebook from the Meta Business Suite app.
Proceed with the following steps:
- Click on ‘Create Post’ in the home section.
- Select which platform you wish to publish the post to. You can choose both Instagram and Facebook if you want to publish the post simultaneously across these channels.
- Hit ‘Done’
You can now type in the text, attach photos, tag location, go-live, etc. (refer to the screengrab)
Notice that we have both Facebook and Instagram selected at the top.
Once you publish the post, you’ll be able to view that post on both your Instagram Business account as well as your Facebook Business page (you also have the option to schedule your posts to a later date).
Step 4: Respond to Messages

Under that, we have ‘Messages’ and ‘Comments’.
Click on the former to respond to messages on both Instagram and Facebook.
By the icon next to users’ profiles, you can tell if the message has arrived on Facebook or Instagram.
In the upper-right corner and next to the green tick, we have two speech icons.
Click on it to access basic settings for automated responses.
For example:

- Under ‘Greet people’, select the ‘Instant reply’ option. Choose the platform (Instagram or Messenger) that you wish to enable this option for. We’ll choose both for this Facebook Business Suite tutorial.
- Below ‘Platforms’ you can customize the automated response.
- Hit ‘Save’
Now, if you click on the green tick in the upper-right corner, it will enable the ‘Away’ feature.
Therefore, when people send you messages while you are away, they will receive the ‘away message’. And you won’t get any notifications.
You can customize the away message by clicking ‘View Settings’.
Take the time to set up your automated messages with the Meta Business Suite app.
Remember to turn the away feature off when you are online and ready to receive messages (by clicking the green tick again).
Step 5: Manage Comments in Meta Business Suite

This is where you can view and respond to comments on your Facebook Business page posts as well as your Instagram Business account posts.
Step 6: View Recent Posts & Stories

If you scroll down a bit, you’ll come across the ‘Recent posts’ section.
This is where you can view your recent posts on Facebook and Instagram.
Apart from posts, you can also see the active stories on both platforms.
By clicking the ‘+’ icon, you can even add new stories from within the Meta Business Suite app.
If you scroll down further, you’ll see recent ads, basic analytics regarding the performance of your Instagram Business account, and the Facebook Business Page.
Step 7: Manage Multiple Accounts

Here you can select specific accounts that you wish to manage.
These can be other Facebook pages and Instagram accounts that your profile has access to.
Step 8: Access Notifications

This is where you can view activity notifications on both the Facebook Business page and Instagram account.
Head back to the home page.
Step 9: Manage Post Stories

This is where you can easily create and manage your posts as well as stories.
Apart from that, you can view:
- Mentions and tags
- Photos
- Planner
Step 10: Create Post Type

Choose what type of post you intend to create: post, photo, story, ad, or go live (however, the last one is a Facebook-only feature).
Step 11: Quickly Access Your Inbox (Messages)


