Table of Contents
Do you want to learn how to add your local business to Google Maps to get found on Google by more potential customers online?
Well, we have good news!
You can create and manage a Google map listing for your business (more commonly known as your Google Business Profile), and the best part is it’s a very easy and effortless process.
What is Google Business Profile?
Google Business Profile (formerly known as Google My Business) is a free business tool within Google that lets you create a page to list and manage your Google Map listing for your small business.
This is an imperative addition to any business of any size.
Why?
By having a Google Business profile, your small business will show up on both Google search and Google maps, allowing visitors and potential customers to view information about your business such as reviews, the location, directions, opening hours, phone number, and your website.
You can then share your profile with customers by adding your Google Business profile to both your website and social media business accounts such as Twitter or Facebook.
Additionally, if you’re a beginner and are after a basic website for your business, you can create a free website using their easy-to-use website builder tool.
Read more : How To Add Local Business on Google Maps
How to Add your Local Business To Google Maps?
The aim of this tutorial is to show you the easy, simple yet effective process of how to add your local business to Google Maps using the free Google platform called Google Business Profile.
Let’s dive in and add your local business to Google Maps!
1. Getting Started With Google Business Profile

The first thing you need to do in order to add your local business to Google Maps (for free!) is to sign into your free Google business account.
Click here to create a Google account!
If you already have a free or paid Google business account:
- Head over to your browser.
- Type in google.com/business.
Read more : Ultimate Google My Business Tutorial
2. How To Set Up Your Google Business Profile Account

Once you’ve signed up and signed in, you’ll be redirected to your Google account.
Let’s meet you inside our Google business account.
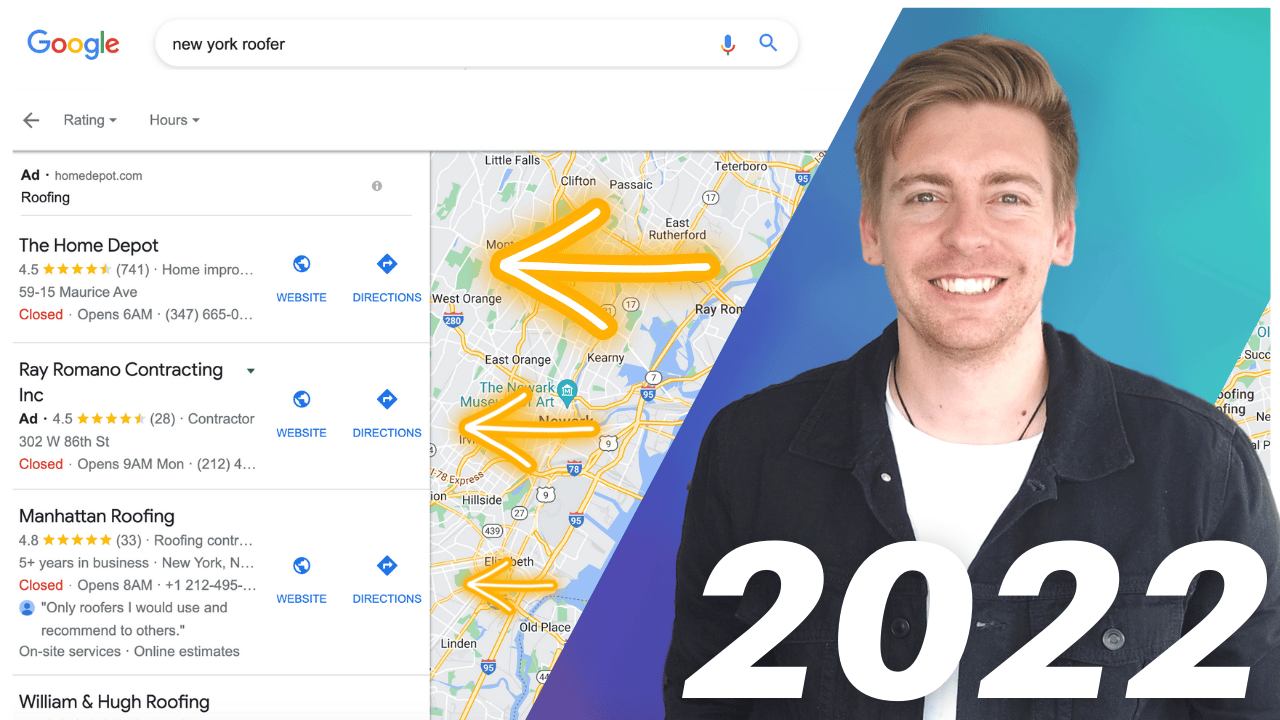
When you’re inside your account, you’ll see on the right-hand side of the screen an example of what your local business will show as on Google search when potential customers search for either your business or the products and services that you offer (see screengrab).
You’ve probably noticed other small businesses with a Google business profile looking the same as the example above in your Google searches. Well, this is exactly what we are going to show you how to do!
In other words, you’ll learn how to create a free Google business profile so your potential customers can not only call through to your business but also find the location of your business, (if you have a physical storefront) visit your website, and more.
As previously mentioned, it’s super easy to set up and get started.
Simply follow the steps below to find out how:
- Click ‘Manage now’ on your Google business account.

If you haven’t already signed into your Google account, you might be asked to sign in at this point.
Make sure you sign in with the Google account that you just created, or the Google account that you use for business.
You can head over to the upper right-hand corner of the page and hover over your account icon to check that you have the right account selected.
- You’ll then be taken here (see screengrab).
- Type in your business name below ‘Type your business name’.
Now, it’s important that you type your exact business name here, without any extra keywords.
Only add the keywords of your actual business name.
For the purpose of this tutorial on how to add your local business to Google Maps, we’re going to type in and create a cafe called ‘Syndeo cafe’.
If your business already exists, it’ll show up down below the business name you can select that business name.
However, if you don’t find you can’t already see your business name, you’ll see the information ‘Create a business with this name’.
- Click on your new business.

You’re now ready to start creating your Google Business profile so you can get found on Google Maps:
- Make sure your business name is correct under ‘Business name’. For us, ‘Syndeo Cafe’.
- Type in the business category that represents your business below ‘Business category’.
Since we’re creating a cafe, we’re going to type ‘Cafe’.
- Select a sub-category from the drop-down list that best represents the type of business you own.
For example, within ‘Cafe’, there are all these options up here.
Our local business is a general cafe, so we’ll click ‘Cafe’.
Once you’ve selected the most suitable business category for your business:
- Click ‘Next’.

- Below ‘Do you want to add a location customers can visit, like a shop or office’, click ‘Yes’ or ‘No’.
This depends on the type of business you have.
Since we are creating a local cafe we do have a shop, so we’re going to click ‘Yes’.
However, if you’re a local business and you don’t have a physical location that customers can physically go to, click ‘No’.
- You’ll be asked to add the locations that you service.
- Click ‘Next’.

- Add the physical address of your local business.
Once you’ve added in the physical address of your business:
- Click ‘Next’.

- Below ‘Does you provide deliveries or home and office visits?’, select either ‘Yes’ or ‘No’.
Again, this depends on the type of business you have.
For the purpose of this tutorial on how to add your local business to Google Maps, our example local cafe provides deliveries, so we’re going to select ‘Yes’.
- Select ‘Next’.

If you selected yes, you can then add in the areas you deliver to.
- Simply add those in here. For us, ‘Westminster, London’ (see screengrab).
It’s important to note that you can always change and add additional locations later on if you decide you want to change your delivery location or expand or decrease your delivery area.
Once you’ve added this in:
- Click ‘Next’.

- Type in your business phone number in the ‘Contact phone number’ section
Think about this number carefully.
Remember this is the number that’s going to appear on your Google Business Profile listing and is the number potential customers can call to get through to your business.
- Type in your domain name (your website URL) within the ‘Current website URL’ section.
Don’t have a website?
- Tick ‘I don’t have a website’.
Because our Google Business Profile is just an example, we’re going to keep ‘I don’t have a website’ selected.
- Click ‘Next’.
You can watch our beginner’s tutorial on How to choose a Domain Name for your small business.
Now, we strongly recommend creating a website for your business if you don’t have one.
Did you know you can actually create a free Google sites site through your free Google account?
If you’re interested in learning how to create your own free website with Google sites, check out our beginner’s tutorial here.
Google Business Profile also offers a free basic website builder right inside your Google account!
This means that when you add all your business information, you can automatically generate a website inside your Google Business Profile.
This website option is great for beginners just getting started, however, we should mention that this website option is very basic and limited.
If you want to find out more about Google Business Profile and Google Sites and what option is best for you and your business, read our comparison article between the two here.
Read more: Google My Business SEO
3. How To Verify Your Google Business Profile

You’re now ready to verify your Google Business Profile!
Next, you’ll be redirected to the verification page, where you’ll see a few options to verify your new Google Business Profile listing depending on the business category you chose earlier (see screengrab).
For example, some businesses will see this phone number verification option where you can receive the verification code via a phone call or a text message.
Below this:
- Navigate down and click ‘Other options’ to bring up other options for you to verify your account.
The quickest way to verify your account is through a phone call (or text message) and the slowest way is through a postcard.
If the ‘Postcard’ option is the only verification option that pops up for you, this means that Google will send you a postcard with your verification code.
From there:
- Simply enter that code into your Google Business Profile listing to verify your account.
It’s important to note that the postcard option can take up to 14 days to arrive at your business location.
However, some local businesses have reported it taking a lot longer (up to 3 months), so keep that in mind when choosing your verification method.
Verifying your Google Business Profile is the last step in adding your business to Google Maps!
4. How To Manage Your Google Business Profile

Alright, so we’ve now shown you how to create your profile and how to add your local business to Google Maps.
Now you might be wondering, how can you manage your newly created Google Business Profile listing?
Follow the steps below to find out how:
- Head over to your browser again.
- Type in google.com/business
That’s going to take you to your Google Business Profile.
Now, did you know you can actually manage your profile in two ways?
5. Manage Google Business Profile (Method 1)

The first method to manage your Google Business Profile is from the back end (see screengrab) within your Profile and through your left-hand sidebar:
- Hover over the navigation bar over on the left-hand side.
Next, we’ll briefly discuss each header of your left-hand side-bar:
- First, you have ‘Home’, where you can see basic information about your account.
- Below that, you have ‘Posts’, where you can create posts about your business.
- Next, you’ll see ‘Info’ to add and update business information.
- Underneath ‘Info’, you have ‘Insights’ for both analytics and insights about your listing.
- Next, you have ‘Review’. This is where you can review and respond to reviews that your customers have left about our business.
- Below ‘Review’ you’ll see ‘Messages’.
- Then ‘Photos’.
- ‘Products’.
- And ‘Services’.
- Below ‘Services’, you have ‘Website’, where you can customize your Google Business Profile website (if you have one).
- And finally ‘Users’, to add additional users to help you manage your account.
That’s just an overview of your left-hand sidebar and how you can manage your Google Business Profile within the back end of your account.
However, if you’re interested in finding out more about this or how you can further optimize your Google Business Profile and ultimately rank higher on Google search, check out our Ultimate Google Business Profile tutorial.
6. Manage Google Business Profile (Method 2)

You can also manage your listing from the search engine. In other words, from Google search.
To do that:
- Type in your business name (once you’re verified in Google search) (see screengrab).
- Click ‘Edit profile’.
Additionally:
- Click ‘Promote’ to promote your listing.
- Select ‘Customers’ to manage the reviews from your customers.
- Here you can also further click ‘Complete your profile’.
You’re also able to add photos, create an offer, create an ad with Google Ads, update your customers by creating a post, and more across.
However, that is everything we wanted to cover in this Google Business Profile beginners tutorial on how to add your local business to Google Maps!
Add Your Business To Google Maps (Video)
That concludes this step-by-step Google Business Profile tutorial.
We hope you enjoyed it and are now confident in the process and how to add your local business to Google Maps.
Feel free to watch our Google Business Profile video guide below so your business can get found on Google!
